Back up the vCenter Server Appliance
Update: If you are running vCenter Server 7 and need to configure VCSA Backups – checkout my Backing Up vCenter Server 7 video on Youtube!
Now that you have migrated to the vCenter Server Appliance (or VCSA), you should start exploring some of the features included in the 6.5 version of the VCSA. Today, we will be looking at one of those features that you should definitely be using – Backup!
The VCSA Backup function allows you to create a backup of the vCenter Configuration, Inventory, and Historical data. If the appliance becomes inoperable you can use this backup during a reinstall of the appliance to get back to the current state.
Backing up the vCenter Server Appliance
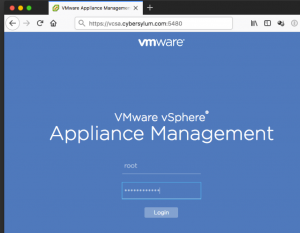
Login to the vSphere Appliance Management Interface (or VAMI) by pointing your web browser to the VCSA IP Address or FQDN at port 5480.
Enter the username and password for your appliance and click Login. Once the VAMI loads, you will find the Backup function in the Summary section.
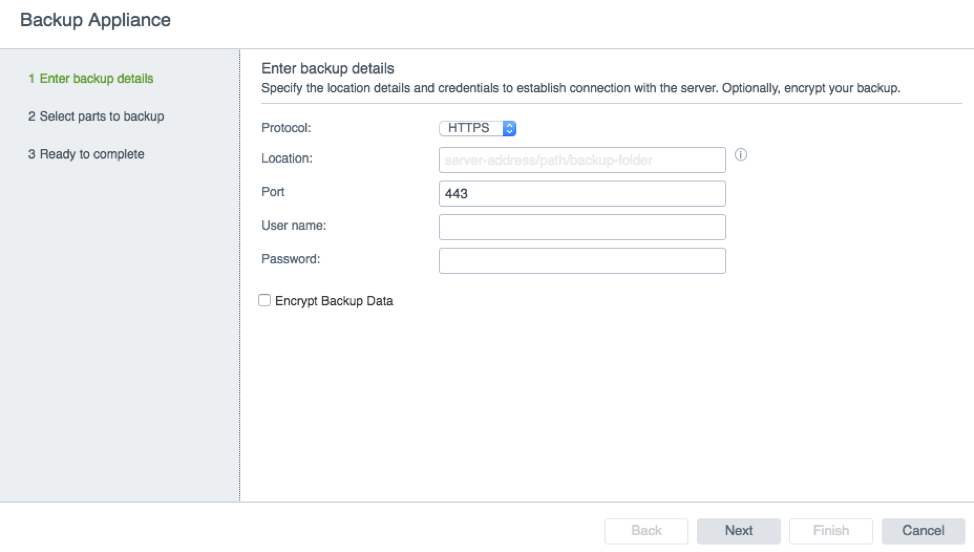
Upon clicking the Backup button, you will be presented with a dialog that presents the options you have for backing up the VCSA.
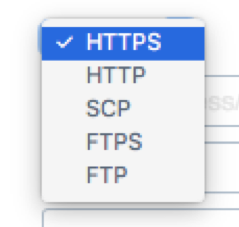
One of those options is the protocol used to store the backup.
You can also choose to Encrypt the backup. If you choose to do this, you will be prompted for an encryption password. This password will be required when you use this backup to re-install from the backup. Store this password safely as the backup will be unusable without it.
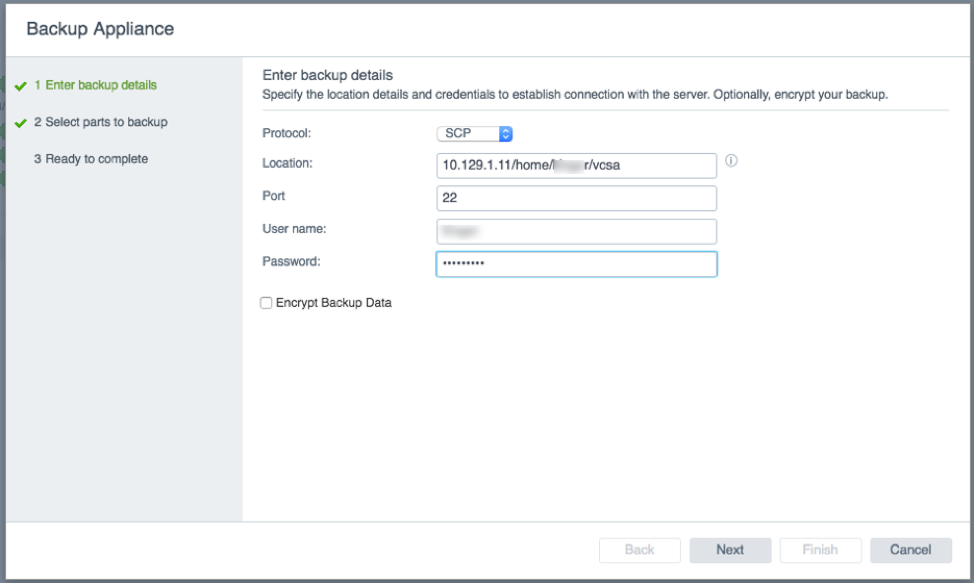
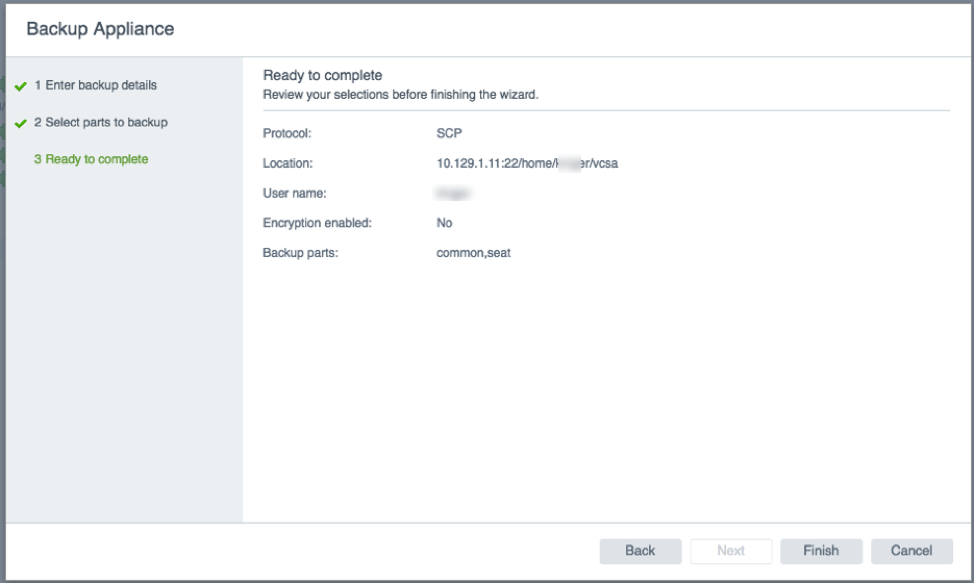
In my environment, I will use SCP. The location is a combination of the host (IP or FQDN) and the full path to the folder where the backup files will be stored.
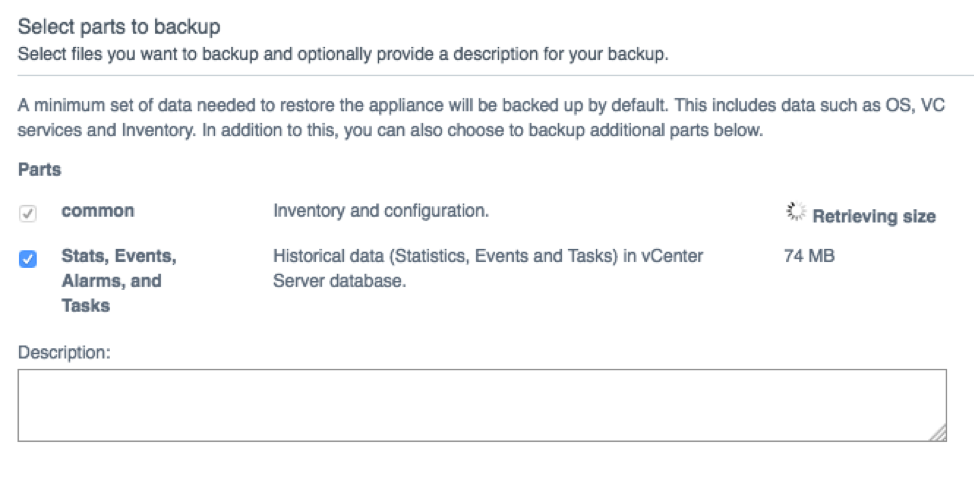
After entering required information, click Next. The input will be validated to ensure everything is correct. After these checks pass, the backup size is calculated. This may take a few moments.
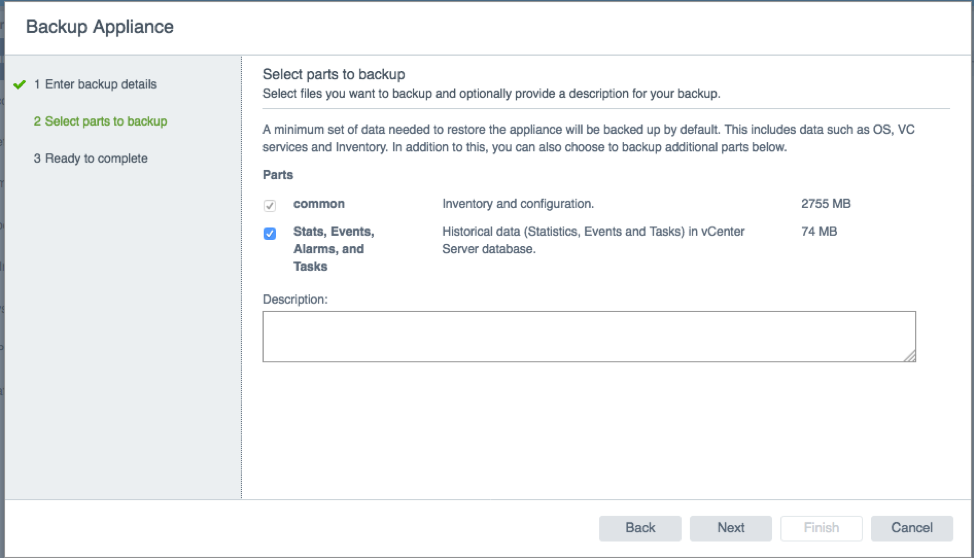
Once the size is calculated, you will have the option to exclude the Historical data from your backup. My test lab is relatively small (3 hosts with vSAN and about a dozen VMs) and would result in a backup that is 2829 MB in size.
Click Next to get to the Backup Summary screen for this backup which allows you to review the options you have specified.
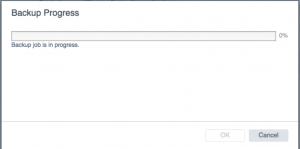
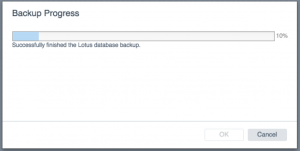
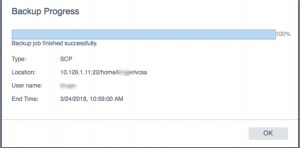
Once you are satisfied with the options, Click Finish. The Backup Job starts and provides a status screen with current operation and percentage complete.
Backing up my vCenter took around 15-20 minutes. The backup consists of a number of zip files.
Troubleshooting the Backup
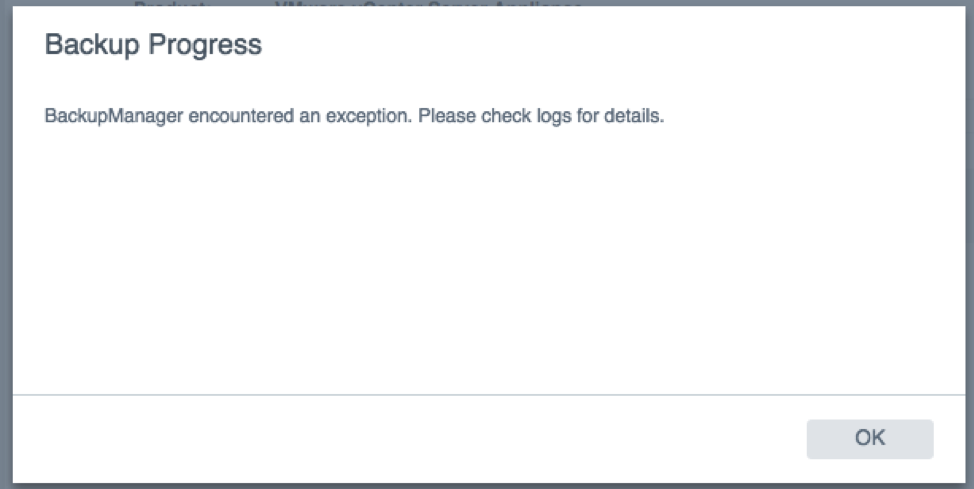
If the backup encounters an error, you will see the following message: “BackupManager encountered an exception”.
While it is helpful to know there was a problem, you also need to know where the logs are. To get to them, you will need to SSH into the VCSA (you may need to enable SSH).
The main location for logs on the VCSA is /var/log/vmware.
The logs for the backup process are found at /var/log/vmware/applmgmt/backup.log.
A quick glance at this log file provided insight into what was going on. I had accidentally specified a path where my user didn’t have permissions to write (/vcsa, instead of /home/myuser/vcsa).
Enabling SSH in the VCSA
Login to the VAMI interface and navigate to the Access section. This will show the current status of both SSH and the Bash Shell. If you need to enable/disable either option, click on the Edit button and check/uncheck the appropriate options.
Automating the Backup
So far, creating our backup has been a manual process. There a number of means to automate this task:
- The vSphere 6.5 documentation has an example of how to do this via the Bash shell.
- The backup process can also be automated using a PowerShell script.

